
How to Measure Current with a Multimeter in 5 Steps
Multimeters find their purpose in life as a diagnostic tool in various trades and professions. Electricians, HVAC technicians and homeowners, among others, rely on digital multimeters (DMM) for collecting numerous measurements, including voltage, continuity and resistance. But since you’ve found this guide, you want to know how to measure current with a multimeter!
Like with other DMM functions, measuring current follows a slightly different protocol than measuring voltage with a multimeter. Besides setting your device to its current mode, you’ll have to find a way to break the circuit and complete it again with your multimeter’s test leads. From there, you’ll get an accurate reading measured in amps.
Sound easy enough? Then let’s get into the nitty-gritty of how to measure current with a multimeter in the sections below.
How to Measure AC & DC Current with a Multimeter
Because DC current flows only in one direction, it is easier to store and control than its AC counterpart. For this reason, testing for amperage has multiple maintenance and troubleshooting applications for components, such as batteries, circuit boards and other electronics.
AC current, on the other hand, switches back and forth repeatedly. This makes it optimal for transmitting over long distances, which is why it’s used to power buildings and homes. So without further ado, here’s how to measure current with a multimeter.
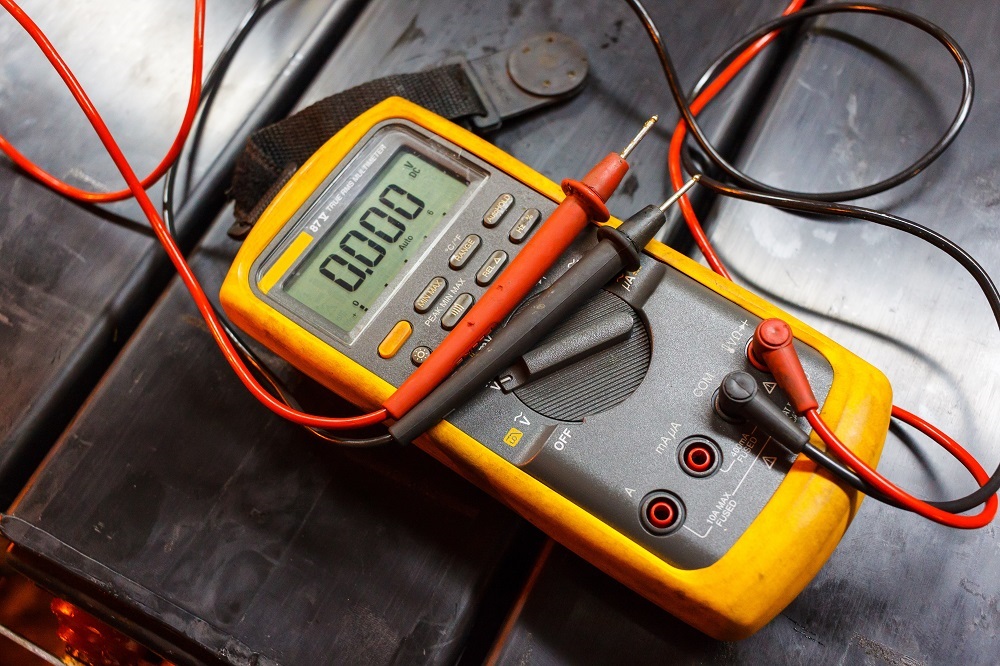
Step 1. Plug Your Test Leads into Their Corresponding Ports
When setting up your multimeter, it's crucial to plug the test leads into the correct ports. Depending on your DMM, there might be multiple ports for measuring current based on the sensitivity of the amperage range. Plug the black lead into the COM port and the red test lead into the amp, milliamp or microamp input jack. These are usually labeled as A, mA or µA.
Warning: Never touch the test probes directly to the battery terminals or power source, as this could blow a fuse, damage your multimeter and even result in bodily injury.
Step 2. Test the Multimeter’s Fuse
Before you begin testing, double-check that your multimeter’s safeguards are functioning as intended. To do this, you can plug your red test lead into the current input jack and turn the dial to any setting other than its current mode. The multimeter will beep and “lead” will flash on the display. Repeat this process for each amp input jack. If “lead” does not appear on the screen, you’ll want to service your multimeter and replace any damaged fuses.
Step 3. Set the DMM to the DC or AC Current Function
To get a DC or AC current reading, you’ll have to turn your multimeter dial until it faces the A, mA or µA symbol, depending on the amp range you’re testing. From there, you should see a solid line over a dotted line to indicate DC current or a solid line over a sine wave to indicate AC current. You can usually toggle through AC and DC functions by pressing the upper left-hand button on your multimeter.
Step 4. Set the Multimeter to the Appropriate Current Range
During this step, it’s a good idea to double-check that your multimeter is rated to handle the amp range you’re planning to measure. As a safety precaution, it’s a good idea to always set your multimeter to the highest possible amperage range and then adjust accordingly. If the current is less than the maximum limit, then you can go ahead and switch to the lower setting. This will give you a more accurate reading.
Note: If you have an auto-ranging multimeter, you will not need to complete this step. The multimeter will automatically calculate the current for you.
Step 5. Test for Amperage
To measure current, you’ll have to open the circuit and close it with your multimeter test leads. Don’t forget to cut all power to the device or battery before disconnecting any wires. From there, connect the red test lead to the positive end of the circuit and the black test lead to the negative end. Turn the power back on, and record your readings.
Note: If you connect the test probes to the wrong end, you’ll get a negative reading. This doesn’t harm your multimeter. In fact, if you reconnect the test leads the right way around, you’ll find the only difference in the amp reading is that it now has a positive value.