
Learn How to Test a Fuse with a Multimeter in 5 Steps
What is a fuse, and what happens if it’s not working? What causes it to blow, and what do you need to do to learn how to test a fuse with a multimeter to ensure it’s doing its job? A simple fuse test is one of the easiest ways to troubleshoot equipment. You can do it at home, and all it requires is a multimeter–sometimes not even that. We’ll answer all these questions and more in the next 5 steps. It’s really easy!
What is a Fuse?
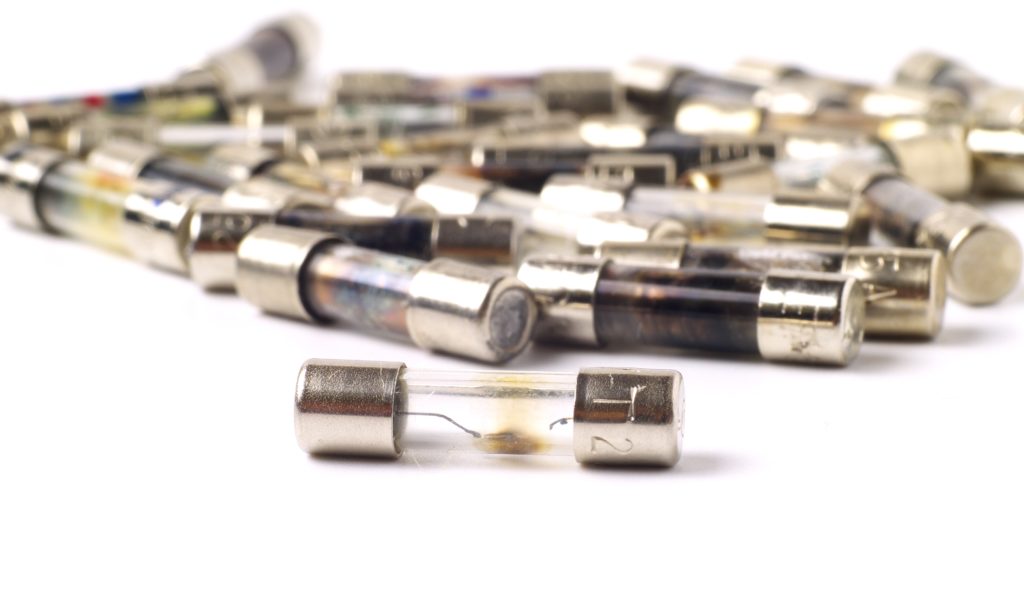
A fuse’s purpose is to protect equipment and people from power surges and their destructive consequences, like fires or damage to expensive appliances. Essentially a safety device, fuses protect against overcurrent caused by a fault, overloaded circuit, damaged wiring, loose screws, etc. The wire within the fuse will melt and break the circuit, turning off power to the device.
How to Tell if a Fuse is Blown
The good news is testing for a bad fuse is pretty straightforward. Sometimes you can even tell if a fuse is blown just by holding it up to the light. If the wire is broken or a burn mark appears on the metal, you should go ahead and replace it. However, it’s equally likely that you’re working with a fuse where the wire is hidden behind a solid housing. In those cases, it’s necessary to learn how to test a fuse with a multimeter.
How to Test a Fuse with an Ohmmeter
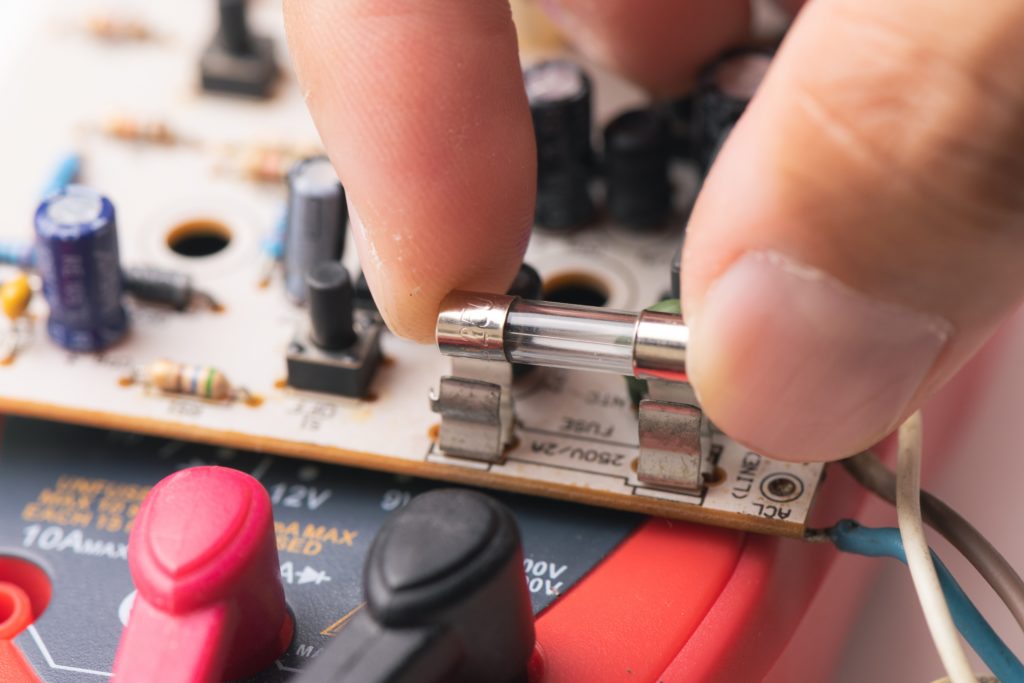
- Step 1. Turn off the machine and remove the fuse – For your safety, it’s important that you turn off the device before removing the fuse.
- Step 2. Choose a workspace – Conducting your test on a metal surface could interfere with your readings. Instead, pick a non-conductive surface, such as a wood or plastic tabletop to set up shop.
- Step 3. Test that your multimeter is working – Turn on your multimeter and touch the two leads together. If you get a reading, great, it’s working! If you don’t, who knows, maybe you’ve blown a fuse. In either case, you’ll need to get yourself a functioning multimeter.
- Step 4. Turn the multimeter to the ohm setting – Switch the dial to the lowest ohm setting (Ω). If you don’t already know how to use a multimeter, no worries. This article will tell you everything you need to know!
- Step 5. Touch the leads to either end of the fuse – Once you’ve ensured the integrity of your device, you can go ahead and test the resistance of your fuse. It doesn’t matter which end you touch the tips to, only that you’ve established a secure connection. If the multimeter beeps or produces a reading, then you’re good to go. If there is no detection alarm or reading, the fuse is faulty and needs to be replaced.
- Note: It’s always a good idea to double-check your results just in case you got a false reading. You can do this with a continuity test.
How to Test a Fuse for Continuity
This alternative way to test your fuse with a multimeter checks whether there is a path for electricity to flow. Follow steps 1-3 from above and then substitute 4-5 with these:
- Step 4. Turn the multimeter to the continuity setting – Turn the dial to the continuity function. Depending on your multimeter, this will be represented by either a diode or wave symbol.
- Step 5. Touch the leads to either end of the fuse –. No beeping or readings indicate the circuit is open and the fuse is blown. If you get a reading or your multimeter beeps, the circuit is closed, and you can reinstall your fuse.
- Note: You may wonder if there is a difference in procedure when testing fuses. The short answer is there is not. Other than slight disparities in shape, amperage and location, the method for testing these components does not change.